
Last updated September 22, 2026
Free visual inspection and a written scope of work before any mitigation begins - photos, moisture readings, and drying logs go in your claim file
The scope we write is the scope we bill. Anything new gets shown to you, in writing, before we touch it.
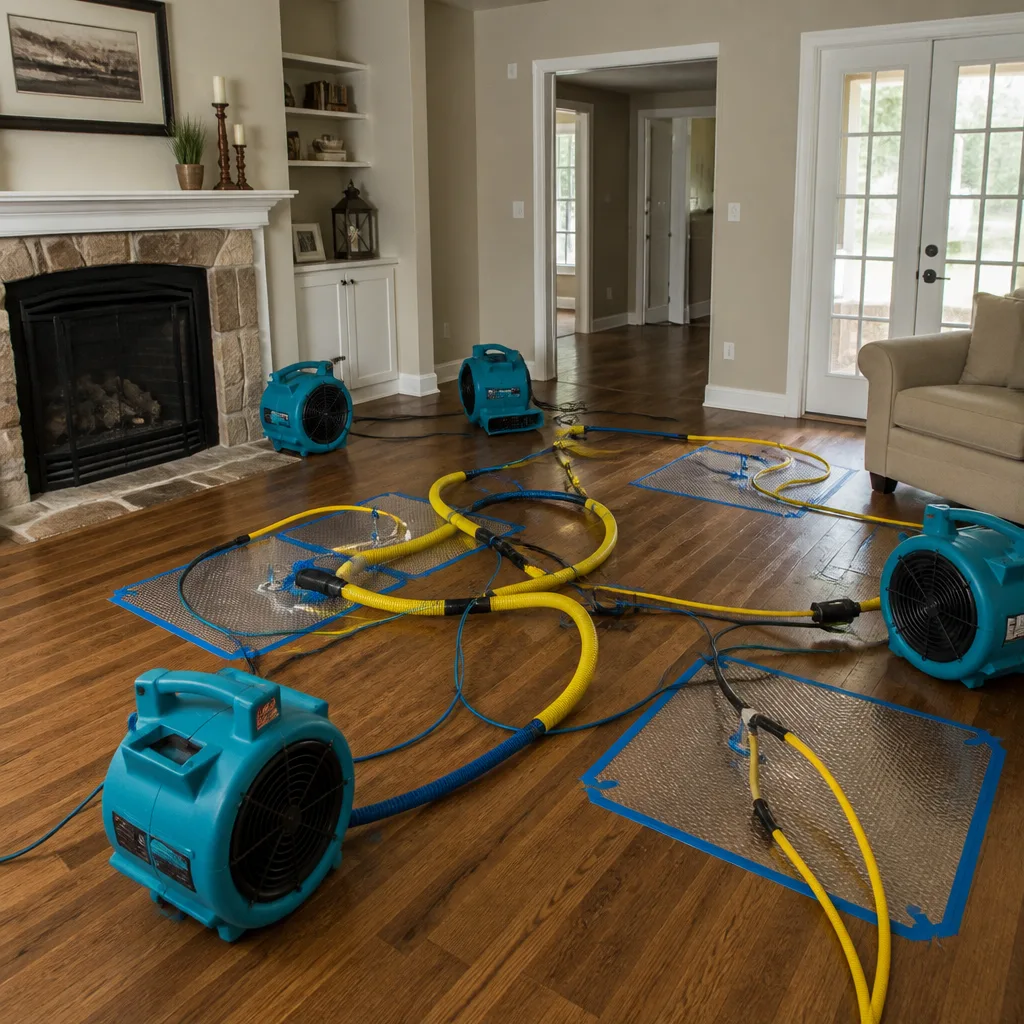

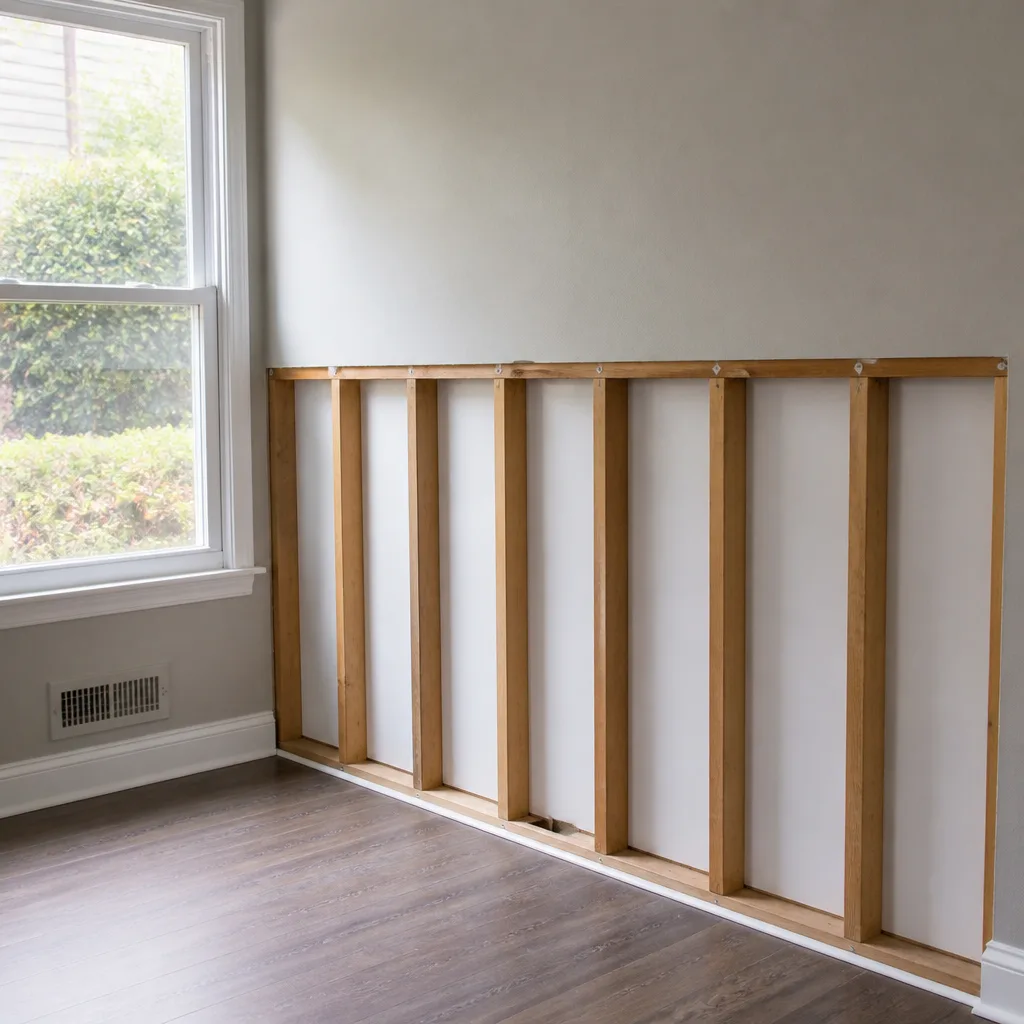

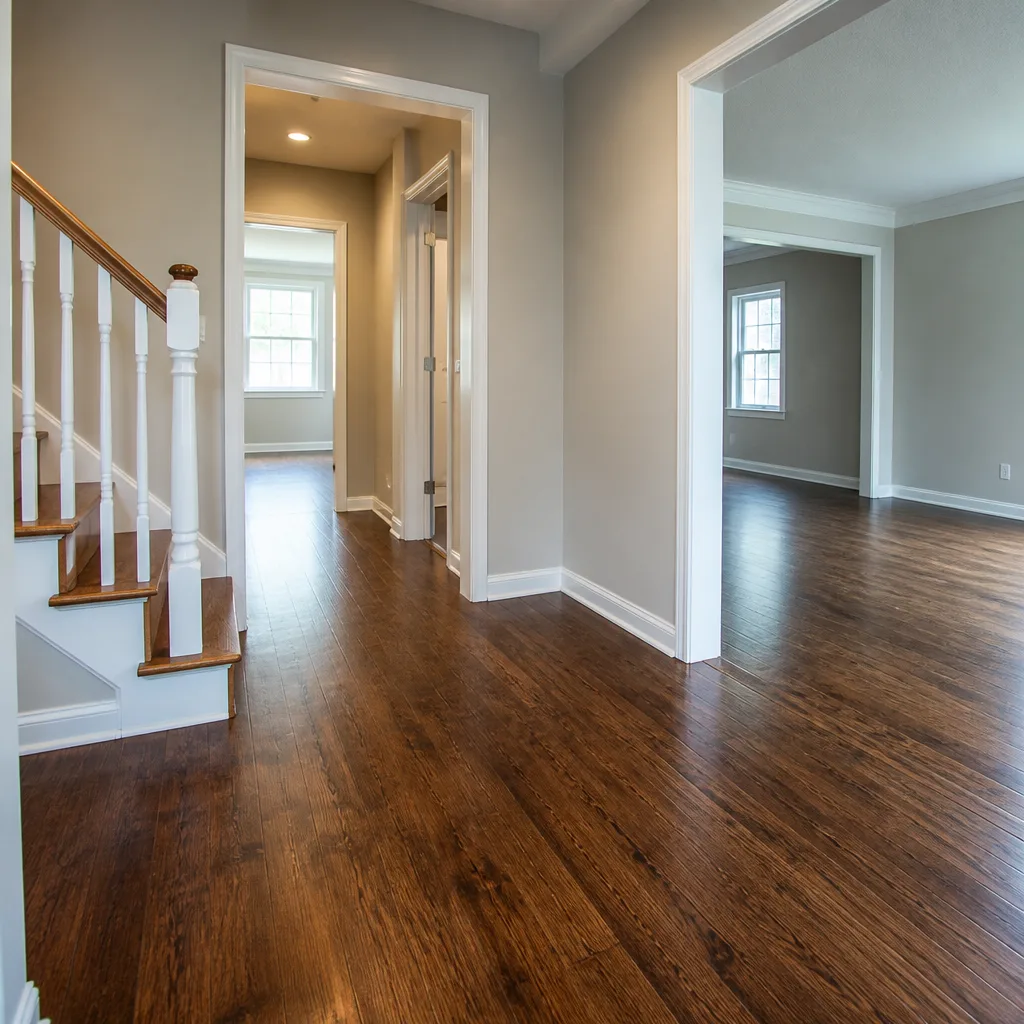

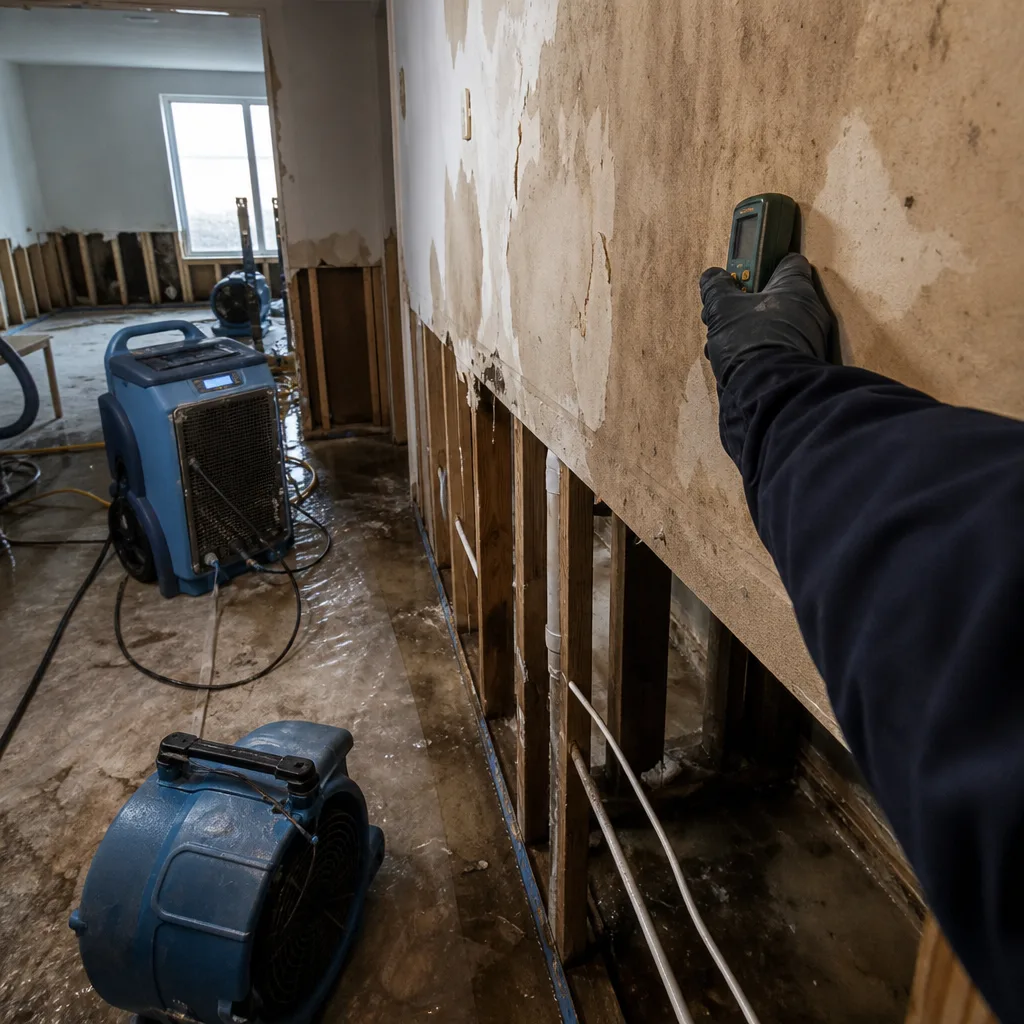 Before
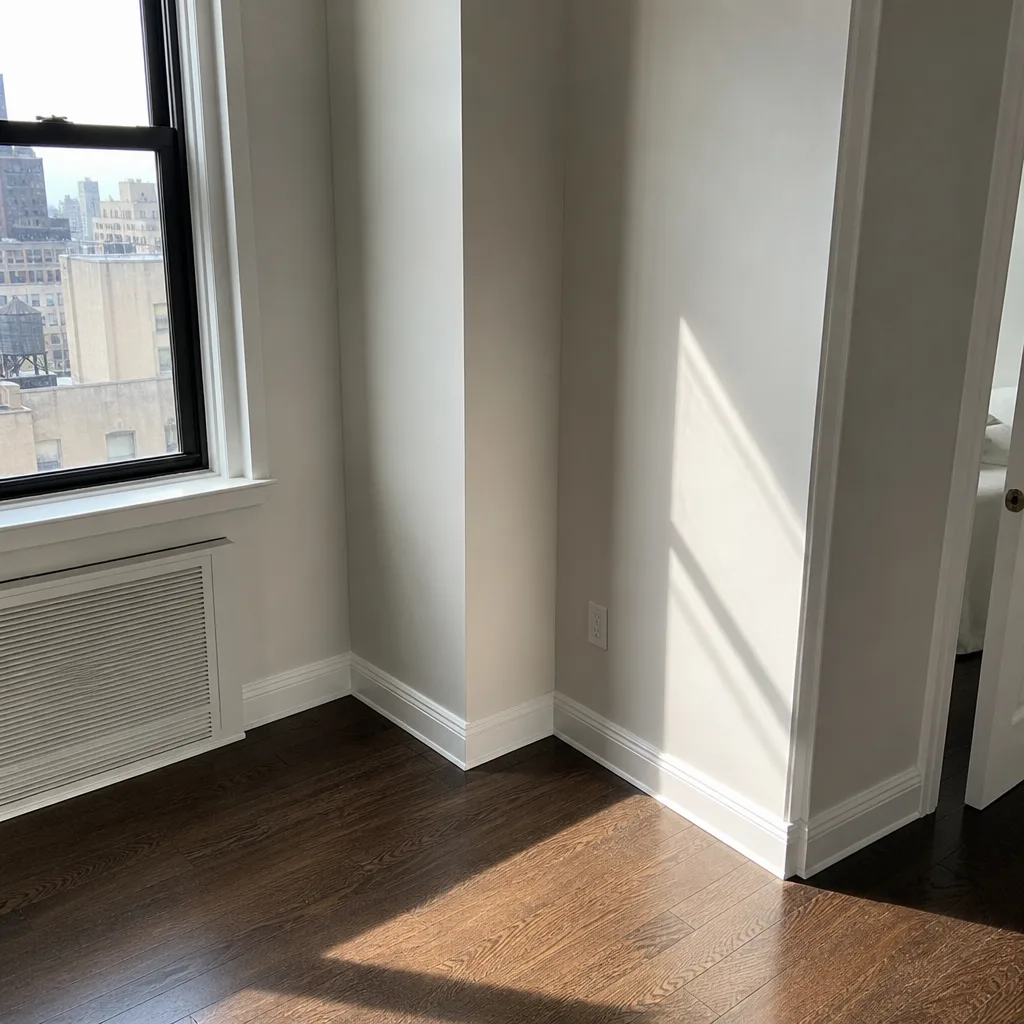 After
After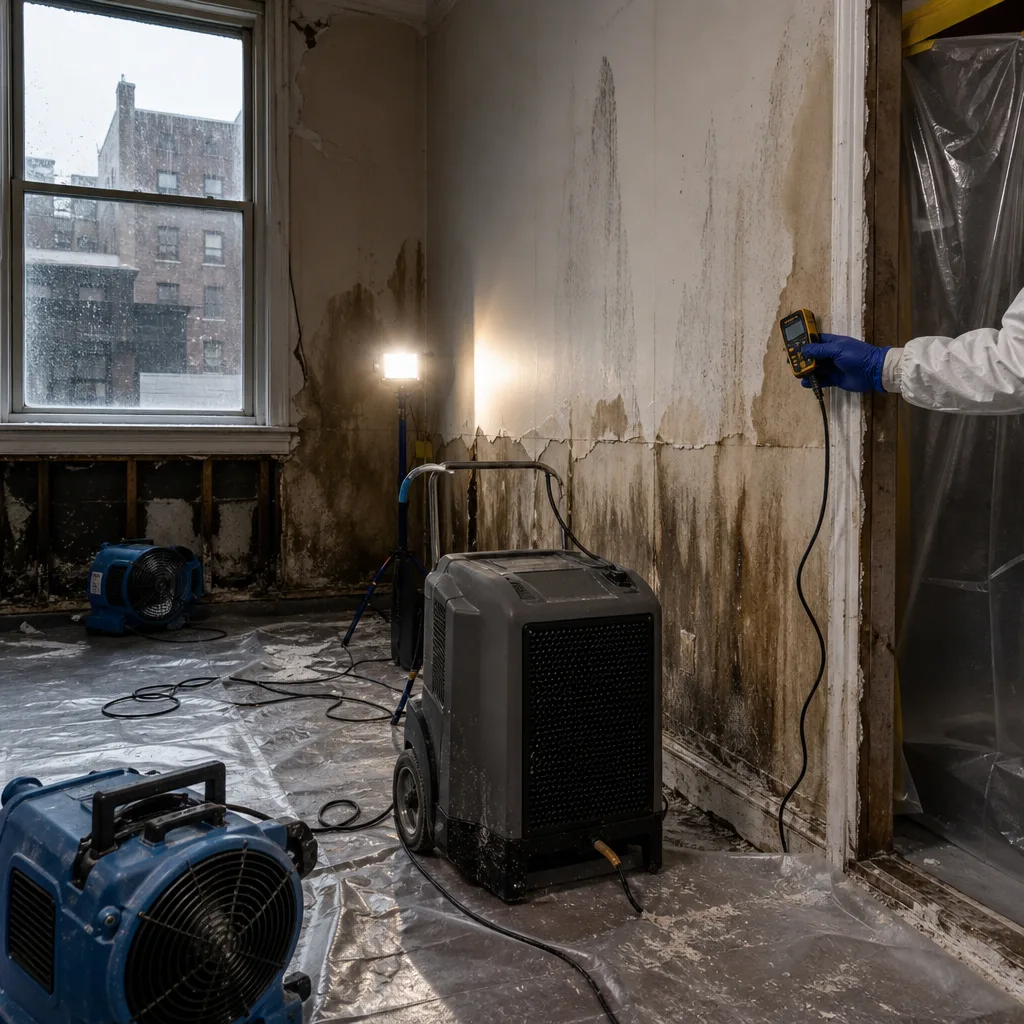 Before
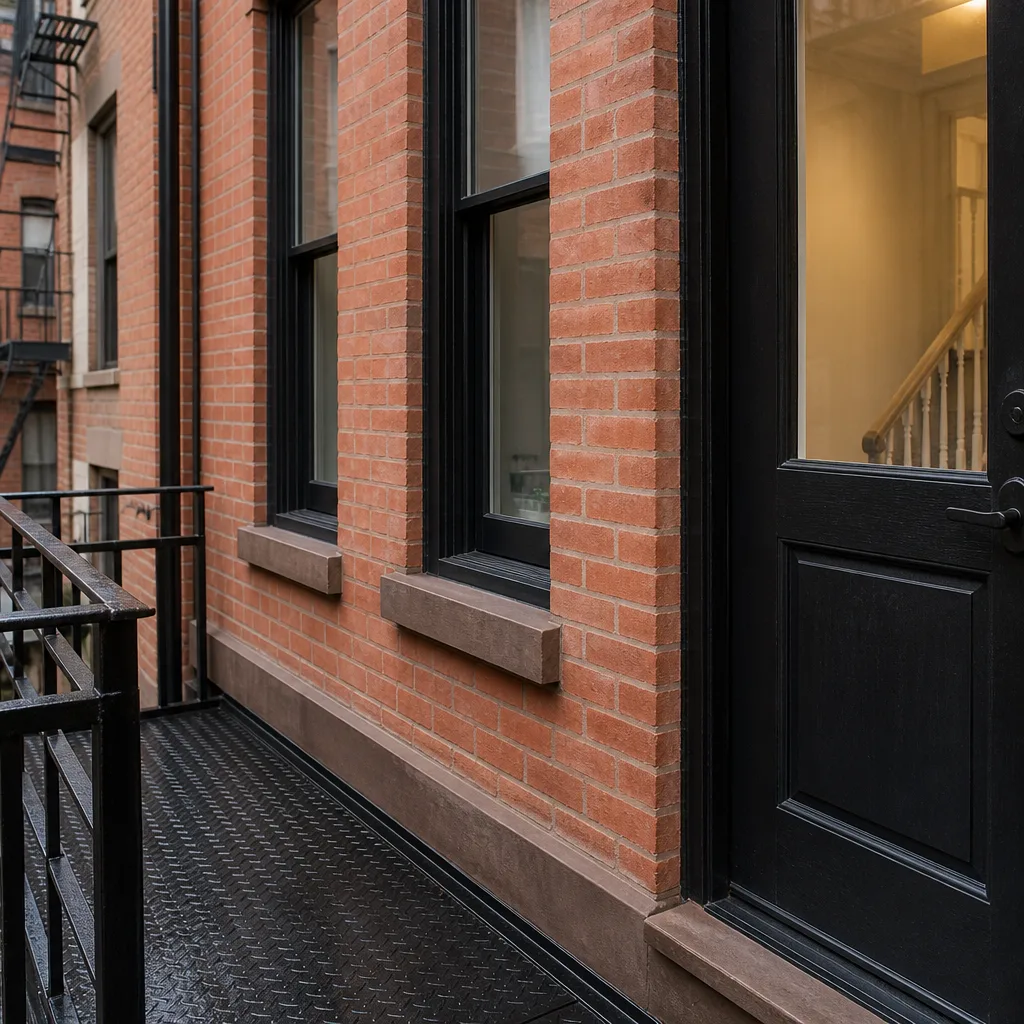 After
After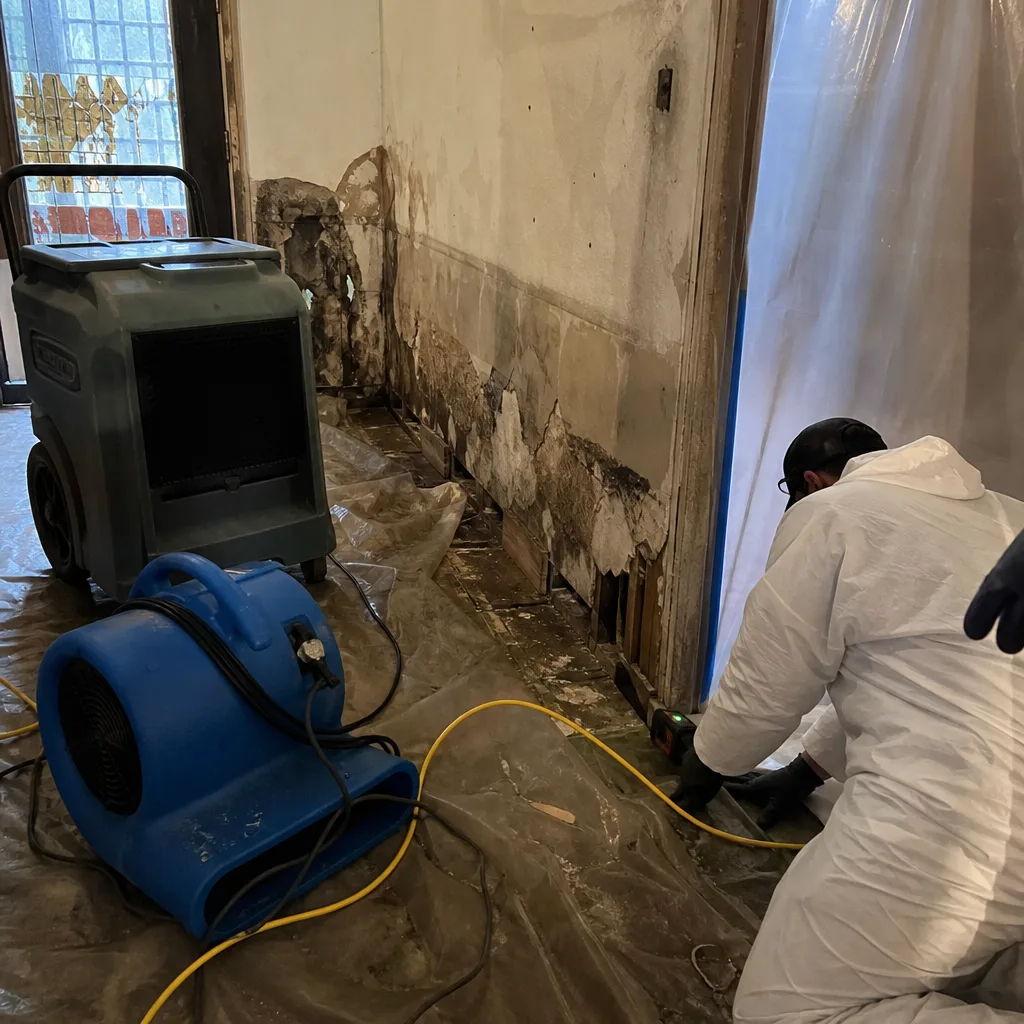 Before
 After
AfterSeasonal Damage Restoration Care for Financial District: Year-Round Homeowner’s Guide
Steam heat systems in pre-war Financial District buildings typically first pressurize in late October, and the first-season pipe stress failures cluster in the two weeks after startup. In our experience at Back to Dry Restoration Financial District home, the homeowners who collect insurance settlements without dispute are the ones who documented a pre-season inspection in September - with dated photos, moisture readings, and a contractor sign-off sheet. This guide maps the four-season damage risk pattern specific to Financial District housing stock: pre-war co-ops and condos with steam heat, post-war curtain-wall buildings with packaged terminal AC, and the masonry-and-steel hybrid construction that creates unique thermal bridges. You’ll learn what to inspect, how to measure it, and how to file the documentation so it functions as a rolling pre-loss condition record.
Quick Answer
Seasonal damage restoration care in Financial District means completing four documented inspections per year: a steam system pre-season check in September, a freeze-thaw vulnerability survey in November, a roof drain and facade review in March, and an HVAC condensate inspection in June. Our Water Damage Restoration Maintenance Checklist for Financial District Homeowners provides step-by-step guidance for each inspection. Each inspection produces dated photos, moisture readings, and written findings that establish pre-loss condition - the documentation that determines whether your insurer classifies damage as sudden (covered) or gradual (denied).
Table of Contents
- Fall (September-October): Steam Heat Pre-Season Inspection
- Winter (November-February): Freeze-Thaw and Masonry Risk
- Spring (March-May): Roof Drains, Facades, and Local Law 11
- Summer (June-August): HVAC Condensate and Humidity Control
- How to Build a Seasonal Inspection File That Protects Your Claim
- What Restoration Costs When Prevention Fails
- Common Mistakes to Avoid
- When to Call a Professional
- Frequently Asked Questions
BeforeAfterFall (September-October): Steam Heat Pre-Season Inspection
The Financial District’s pre-war housing stock - roughly 60% of residential buildings south of Chambers Street - relies on single-pipe or two-pipe steam heat systems that have operated continuously since the 1920s through 1950s. These systems develop a predictable failure pattern: after eight months of dormancy, the October pressurization cycle subjects pipe joints, valve packings, and radiator nipples to thermal stress they haven’t experienced since the previous spring.
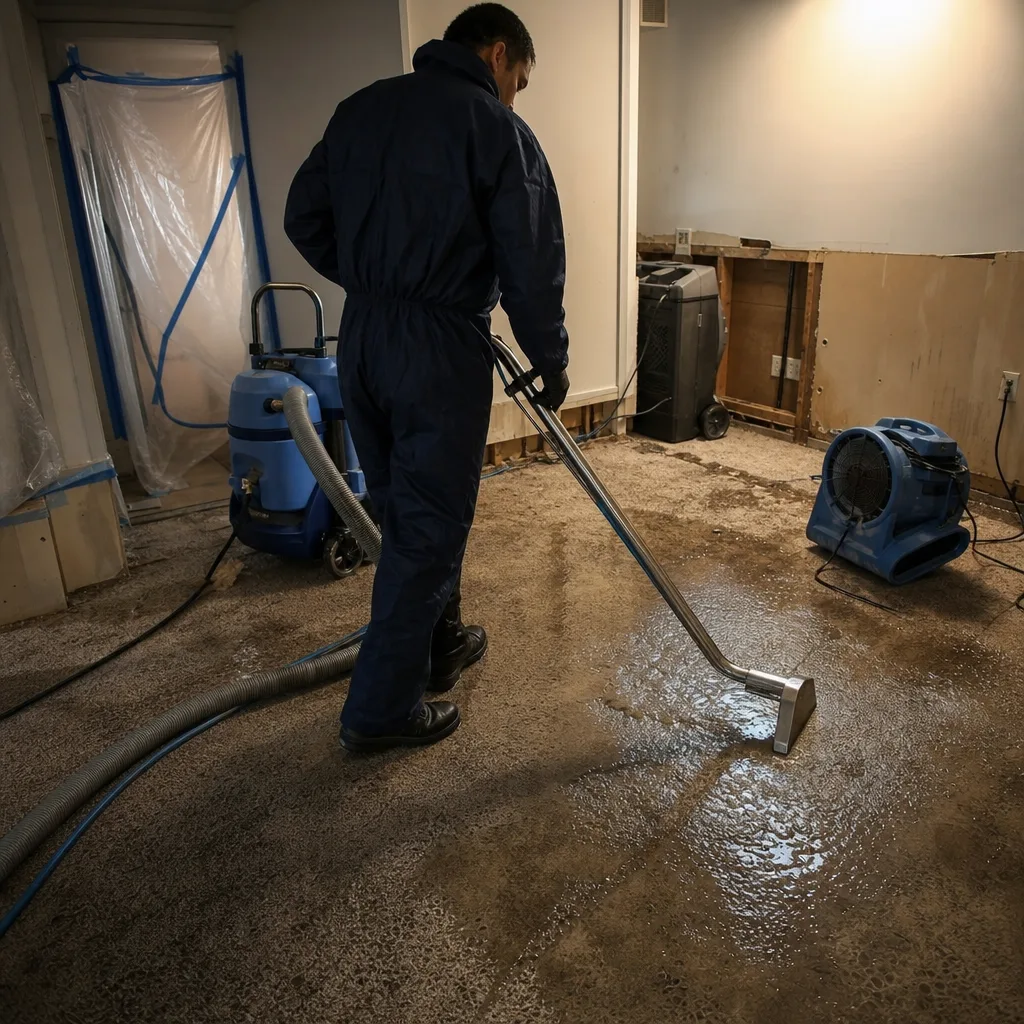
We see the damage pattern every November. A radiator valve fails at the union between the valve body and the supply riser. Steam at 215°F and 2-5 psi enters the apartment for 4-12 hours before the super shuts down the zone. The moisture migrates through oak parquet into the subfloor, through plaster ceilings into the apartment below, and along steel beams into adjacent units. By the time a crew arrives, the affected area has expanded from 50 square feet to 400 square feet. The insurer’s first question: was this valve maintained? Without documentation, the answer defaults to “no,” and the claim shifts from sudden discharge to gradual leak - a coverage difference that can exceed $15,000 in out-of-pocket cost.
What to Inspect and Document Before Heat Startup
- Radiator valve condition: Photograph each valve from three angles - body, union, and packing nut. Note corrosion, mineral deposits, or previous repair evidence. A valve with green copper oxide at the union has already experienced minor weeping; record this as a finding, not a prediction.
- Pipe insulation at penetrations: Steam supply lines pass through fire-rated floor assemblies with asbestos-containing insulation in pre-1973 buildings, or fiberglass/foam replacement in later renovations. Photograph the penetration condition. Gaps in insulation create cold spots where condensate forms, accelerating corrosion at the pipe exterior.
- Condensate return lines: In single-pipe systems, the same pipe carries steam up and condensate down. Check the return slope with a level - negative slope causes water hammer and joint stress. Document the slope reading in degrees.
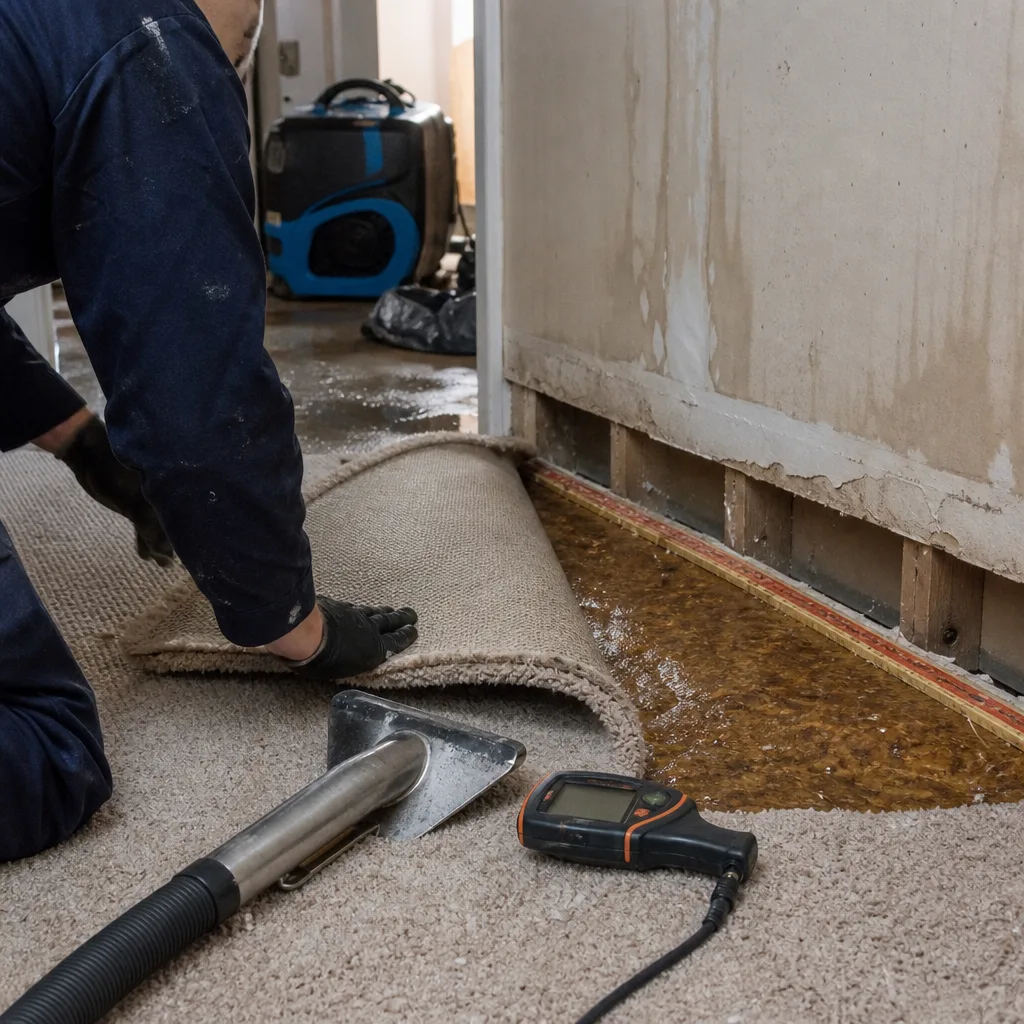
- Moisture readings at baseboards: Use a pinless moisture meter (we deploy Delmhorst or Protimeter units on our inspections) to establish baseline readings at drywall and plaster near each radiator. Record the percentage moisture content (MC) by weight, the meter model, and the calibration date. Normal plaster MC in September typically reads 8-12%; readings above 15% indicate active or recent moisture intrusion that should be investigated before heat startup masks the symptom.
- Superintendent contact and zone shutoff location: Write down the building super’s direct number and confirm the location of the zone valve or riser shutoff for your line. In a steam emergency, the difference between a 10-minute response and a 2-hour response is often the difference between $3,000 and $30,000 in damage.
File these findings with dated photo metadata (set your phone camera to record location and timestamp), the moisture reading log, and any contractor sign-off. This is your pre-loss condition record for the steam system. If a valve fails in November, you have September documentation that the valve appeared serviceable - positioning the event as sudden and accidental under standard HO-3 policy language.
Winter (November-February): Freeze-Thaw and Masonry Risk
Financial District buildings face a specific winter risk: thermal cycling at exterior wall penetrations where steel framing meets masonry infill. The neighborhood’s wind exposure - unobstructed fetch across New York Harbor from the south and west - drives cold air into construction joints that interior heating then warms. Each cycle expands and contracts the materials at different rates. Water enters in liquid form, freezes at 32°F with 9% volumetric expansion, and thaws with enough force to spall brick faces, separate lintels from bed joints, and crack window perimeters.
The critical temperature band is 20°F to 35°F, which Financial District experiences 40-60 times per winter. Each cycle is a stress event. The damage accumulates invisibly until a February rain-on-snow event finds the pathway and delivers water to interior finishes.
Identifying and Documenting Vulnerable Locations
Walk the exterior of your building, or request access through your building management for a documented inspection. Focus on these specific locations:
- Window lintels and sills: In masonry buildings, steel angle lintels support the brick above each window. When the lintel corrodes, it expands - up to 10 times the volume of the original steel - lifting the brick course above and opening horizontal cracks. Photograph lintel faces from the sidewalk with a telephoto lens; rust staining on the brick below indicates active corrosion. Measure and record crack widths with a crack monitor or even a standard ruler - “hairline” is not a measurement, but “1/16 inch” is.
- Parapet coping joints: The top of the wall is the most vulnerable location. Coping stones or metal caps should overhang the wall face by 1-2 inches with functioning through-wall flashings. Missing sealant at coping joints allows direct water entry to the wall core; freeze-thaw then dislodges the coping itself, which we’ve seen fall to the street in Financial District during winter storm events.
- Exterior wall penetrations: Every pipe, conduit, and duct that passes through the exterior wall is a potential thermal bridge. In Financial District’s older buildings, these penetrations were often sealed with oakum and lead, or later with polyurethane foam that degrades under UV. Photograph each penetration. Note gaps, staining, or material degradation. A thermal imaging camera (FLIR or equivalent) will reveal the thermal bridge even when the sealant appears intact - the interior surface temperature at a penetration may read 15°F colder than adjacent wall area, indicating conductive heat loss and potential condensation point.
- Balcony and terrace door thresholds: These assemblies integrate waterproofing, thermal break, and drainage in a 4-inch cross-section. The detail fails predictably: the door track corrodes, the threshold seal separates, and water enters the subfloor. In Financial District’s converted commercial buildings, many residential units occupy floors never designed for occupancy - the original window wall becomes a door wall with a threshold detail improvised during conversion. Document the threshold condition, the slope toward drainage, and any interior floor staining within 24 inches of the door.
Record interior moisture readings at each vulnerable location: base of window walls, ceiling perimeters, and floor areas below exterior walls. A winter baseline reading of 10% MC at drywall becomes evidence of pre-loss condition if spring readings spike to 25% after a facade breach.
Spring (March-May): Roof Drains, Facades, and Local Law 11
New York City’s Local Law 11 of 1998 (the Facade Inspection Safety Program, or FISP) requires periodic inspection of building exteriors for public safety. Cycle 10 inspections are currently underway, with filing deadlines staggered by borough and block. For Financial District homeowners, the FISP cycle creates a documentation opportunity: the Qualified Exterior Wall Inspector (QEWI) report, filed with the Department of Buildings, becomes a third-party professional record of facade condition at a specific date.
Request a copy of your building’s most recent FISP report from management. The report classifies facade conditions as Safe, Safe with a Repair and Maintenance Program (SWARMP), or Unsafe. A SWARMP classification at your floor’s window wall or balcony becomes evidence that the building acknowledged a condition requiring monitoring - if water intrusion subsequently occurs at that location, the FISP report supports your position that the damage resulted from a building-level maintenance failure rather than unit-level neglect.
Roof Drain Inspection Timing
Spring is the critical season for roof drain function. Winter accumulation of organic debris, construction gravel, and ice-damaged flashings creates blockages that first reveal themselves during March and April rain events. In Financial District’s flat-roof commercial conversions, many residential units occupy floors directly below mechanical penthouses or setback roofs - the drain path runs through interior construction rather than exterior wall.
- Identify your roof drain path: Request the building’s roof plan from management. Trace the drain leader from the roof surface through the building to its discharge point. Note whether the leader passes through your unit, above your ceiling, or within your wall.
- Inspect accessible cleanouts: Many buildings install cleanout ports at floor intervals. Photograph the cleanout interior with a borescope if available, or flash photography through the port. Standing water, sediment accumulation, or root intrusion (rare but possible in older cast iron) should be documented and reported to management in writing.
- Check interior indicators: Water stains at ceiling penetrations, rust at sprinkler heads, or efflorescence on painted surfaces below the drain path all indicate prior or active leakage. Photograph and measure each finding. A stain 12 inches in diameter in March that expands to 24 inches by May documents active progression - evidence that the condition is current and requires intervention.
- Coordinate with FISP findings: If the FISP report identifies parapet or coping conditions at the roof perimeter, and your unit lies below that perimeter, the two documents together establish a building-level maintenance deficiency that predates your interior damage.
File the FISP report, your roof drain documentation, and any management correspondence in your seasonal inspection file. These documents have a 6-year relevance horizon for most insurance claims, and indefinite relevance for structural warranty claims against the building.
Summer (June-August): HVAC Condensate and Humidity Control
Financial District’s summer damage profile differs fundamentally from other seasons: it’s driven not by external water intrusion but by internal moisture generation that exceeds the building’s removal capacity. Packaged terminal air conditioners (PTACs), through-wall sleeve units, and central chilled-water fan coil systems all produce condensate at rates that surprise most homeowners - a 3-ton residential system generates 2-4 gallons of condensate per day at design conditions of 85°F outdoor and 50% relative humidity.
When condensate drainage fails, the water has nowhere to go but the interior. We’ve documented Water Damage Restoration in Financial District cases where a clogged condensate line on a 15th-floor unit produced enough water to damage seven floors below through the vertical chase, with total restoration costs exceeding $200,000. The insurer’s coverage determination hinged on one question: when was the condensate system last inspected? The unit owner had no documentation. The claim was denied for lack of maintenance.
HVAC Condensate Inspection Protocol
This protocol applies to any cooling system with a condensate pan - PTAC, window unit, through-wall sleeve, or fan coil. For central ducted systems, the inspection points differ (primary and secondary drain pans at the air handler, condensate pump function, float switch operation), but the documentation principles are identical.
- Pan water level measurement: With the system running at steady state for 30 minutes, measure the water depth in the condensate pan with a ruler or depth gauge. Normal operating depth is 1/4 to 1/2 inch - enough to maintain the trap seal, not enough to approach the overflow lip. Record the depth, the measurement time, and the outdoor temperature/humidity (from a weather app screenshot). Depths above 3/4 inch indicate restricted drainage that requires cleaning.
- Drain flow rate test: Pour 1 quart of water into the condensate pan and time its discharge at the exterior or building drain. Normal flow through a 3/4-inch drain at 1/4 inch per foot slope should clear the quart in under 60 seconds. Slower drainage indicates partial blockage - algae, biofilm, or construction debris - that will worsen through the cooling season.
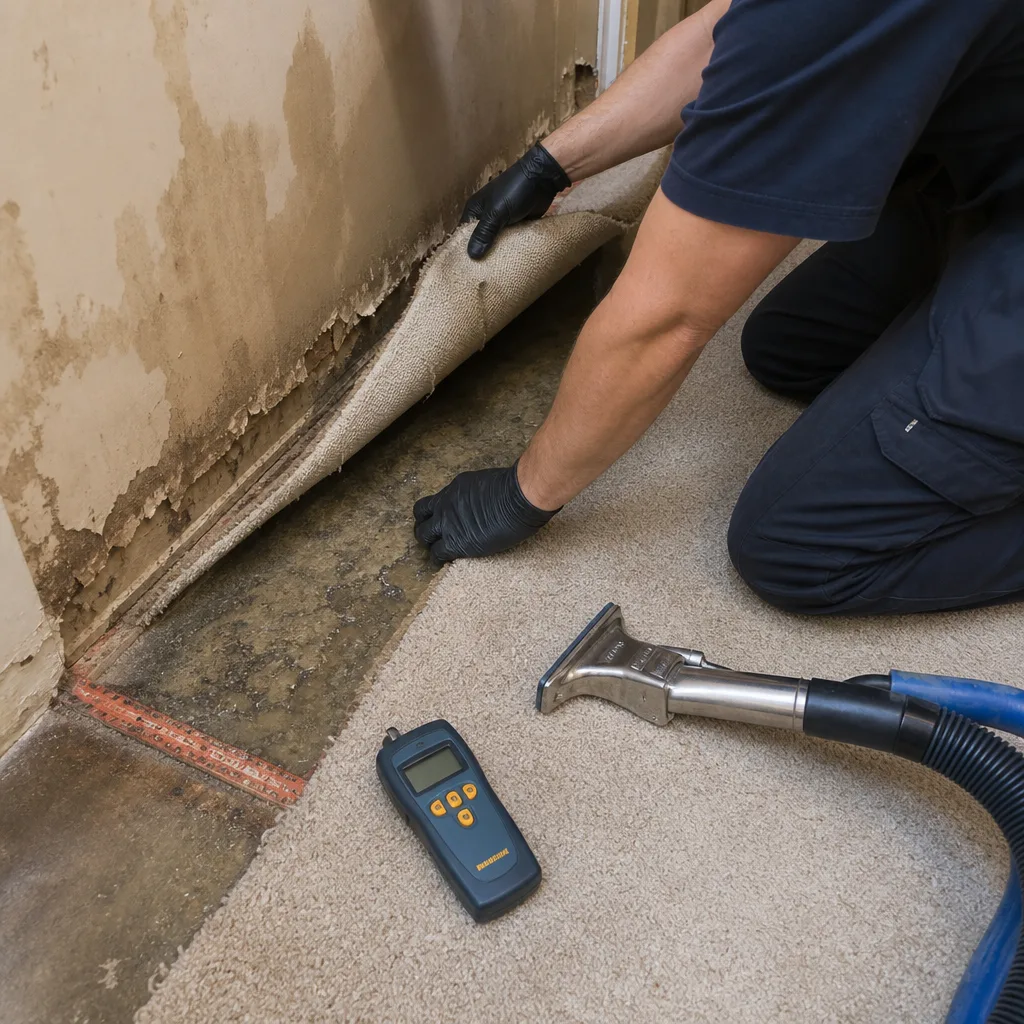
- Cabinet interior moisture readings: Use a pinless moisture meter to scan the interior surfaces of the PTAC or fan coil cabinet: the base, the vertical panels, and the transition to wall construction. Readings above 15% indicate chronic wetting from overflow, leakage, or excessive humidity. Photograph the meter display with the probe position visible.
- Exterior discharge inspection: Locate the condensate discharge point. It should terminate with an air gap above a receptor, not through a direct connection that could allow sewer backflow. In Financial District’s high-rise buildings, condensate often discharges to a waste stack or dedicated leader. Verify that the discharge is visible and unobstructed - we’ve found condensate lines that terminate inside wall cavities, producing hidden damage for years.
- Filter and coil condition: A dirty filter reduces airflow, which lowers the evaporator temperature and increases condensate production beyond the drain capacity. A dirty coil insulates the fins and produces the same effect. Photograph the filter and coil condition; note the last replacement or cleaning date.
Summer is also the season to monitor interior humidity. The target range is 30-50% relative humidity (RH). Above 60% RH, dust mites proliferate; above 70%, mold germination becomes likely on organic surfaces. A continuous hygrometer (we recommend SensorPush or equivalent for residential use) produces a data log that documents your unit’s humidity history. If Mold Remediation in Financial District becomes necessary, the hygrometer log establishes whether humidity control was maintained or whether conditions favored mold growth.
How to Build a Seasonal Inspection File That Protects Your Claim
Documentation that persuades an adjuster has specific characteristics: it’s dated, it’s detailed, it’s consistent across time, and it was created before the loss occurred. The seasonal inspection file meets all four criteria. Here’s how to construct it.
File Structure
Create a digital folder for each inspection cycle: “2024-Fall-Steam,” “2024-Winter-Freeze,” etc. Each folder contains:
- Photo subfolder with metadata preserved: Camera phone photos should retain EXIF data including timestamp and GPS coordinates. On iPhone, enable Location Services for Camera; on Android, enable Save location in camera settings. Screenshot the weather conditions at inspection time - outdoor temperature, humidity, precipitation history. This establishes that the inspection occurred under normal conditions, not during or immediately after a weather event.
- Moisture reading log: A simple spreadsheet with columns for: date, time, location description, material type (plaster, drywall, wood, concrete), meter model and serial number, reading value and unit (% MC or relative scale), and inspector name. If you hire a contractor for the inspection, their license number and company name should appear on the log.
- Written findings summary: One page noting what was inspected, what was found, and what action if any was recommended. This is not a prediction (“valve will fail”) but a record (“valve body shows no active leakage, union threads visible, packing nut tight”).
- Contractor sign-off or self-certification: If a licensed contractor performs the inspection, request a signed report with their license number. If self-performed, sign and date your own findings - a self-inspection is weaker evidence than a professional inspection, but infinitely stronger than no inspection.
Cross-Referencing Building Documents
Your seasonal file should reference and file copies of:
- FISP reports (updated per cycle)
- Building alteration certificates (Alt-1, Alt-2) for any unit modifications
- Contractor completion certificates for HVAC, plumbing, or electrical work
- Insurance policy declarations pages (annual update)
- Correspondence with building management regarding maintenance or repairs
The cumulative file becomes a rolling pre-loss condition record. When damage occurs, you have not just one snapshot but a multi-year narrative of responsible maintenance. In our experience at Back to Dry, homeowners with three or more years of documented seasonal inspections resolve claims 40% faster and with 25% higher settlement amounts than homeowners with no documentation - not because the damage differs, but because the coverage determination requires no additional investigation. For more guides & resources on building your documentation system, visit our blog.
What Restoration Costs When Prevention Fails
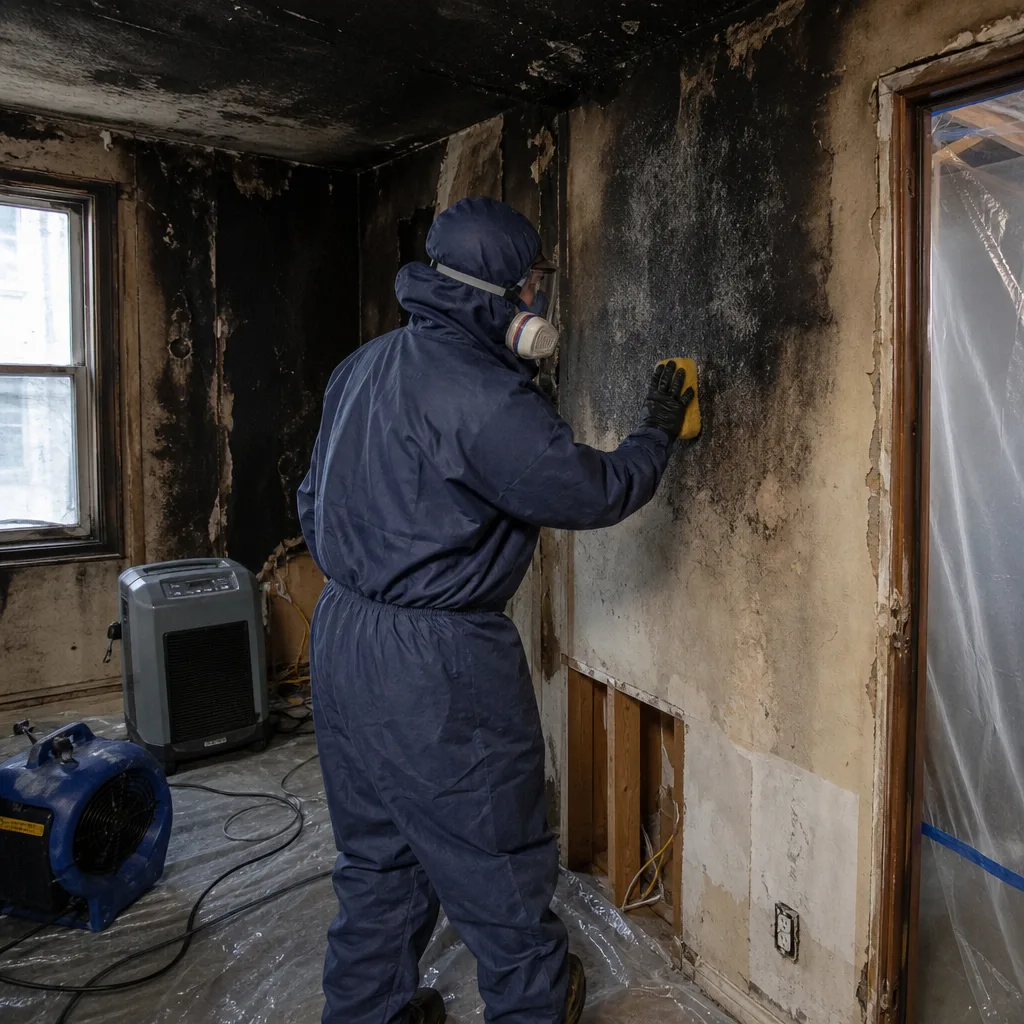
Despite best efforts, seasonal damage occurs. Understanding the cost structure helps you evaluate estimates and recognize when a scope is incomplete. See our Damage Restoration Cost Breakdown: The Financial District Homeowner’s Reference for 2026 for detailed pricing guidance.
| Damage Type | Typical Financial District Range | Key Cost Drivers |
|---|---|---|
| Steam leak, localized (single room, <100 sq ft) | $3,200 - $6,800 | Plaster vs. drywall, parquet vs. engineered floor, electrical outlet proximity |
| Steam leak, extended (multiple rooms, >300 sq ft) | $12,000 - $28,000 | Structural drying days, content manipulation, asbestos testing in pre-1973 buildings |
| Freeze-thaw masonry intrusion, interior only | $4,500 - $9,500 | Wall cavity access method, insulation type, mold assessment requirement |
| Freeze-thaw with facade repair coordination | $15,000 - $45,000 | Building management coordination, sidewalk shed, Local Law 11 compliance |
| HVAC condensate overflow, single floor | $2,800 - $7,500 | Floor material, subfloor type, baseboard removal |
| HVAC condensate overflow, vertical chase (multi-floor) | $35,000 - $180,000+ | Floor count affected, elevator pit involvement, common area damage allocation |
| Spring roof drain failure, ceiling/attic | $8,500 - $22,000 | Insulation saturation, electrical fixture contamination, plaster lath damage |
These ranges reflect Financial District’s specific conditions: high labor costs, restricted access (elevator reservations, loading dock time windows), co-op board approval requirements for any work affecting common elements, and the prevalence of pre-war construction with plaster, lath, and potentially asbestos-containing materials. Every estimate we provide at Back to Dry is written and itemized before work begins, with no scope additions once the crew is inside - Haven Standard, Clause 1.
For Fire & Smoke Damage Restoration in Financial District, cost drivers differ significantly: smoke particle chemistry (protein smoke from kitchen fires requires different treatment than synthetic smoke from plastics), HVAC system contamination extent, and the mandatory fire marshal release before restoration begins. Seasonal fire risk peaks in winter (heating equipment, holiday decorations) and summer (air conditioning electrical loads), but the documentation principles remain identical: pre-loss condition photos, maintenance records, and immediate photo documentation of the post-loss condition before any cleanup.
Common Mistakes to Avoid
- Inspecting only after damage occurs: The post-loss inspection documents the damage, not the pre-loss condition. Insurers routinely deny gradual leak claims where the homeowner cannot produce evidence of maintenance. The September steam inspection is the critical documentation; the November damage photo is merely evidence that the inspection was justified.
- Using “eyeball” estimates instead of measured readings: “Looks fine” is not documentation. A moisture reading of 11% at plaster in September and 23% in March is measurable, comparable, and persuasive. Buy a $250 pinless moisture meter and learn to use it, or hire a contractor who will provide a signed reading log.
- Failing to photograph the “normal” condition: Homeowners photograph damage, not intact conditions. The photo of a clean, dry condensate pan in June becomes evidence that the pan was maintained, not neglected, when it overflows in August. We recommend a 3:1 ratio: three “normal” photos for every one “finding” photo.
- Discarding old inspection files: New York’s statute of limitations for property damage claims is six years. Keep seasonal inspection files for at least seven years. Digital storage is effectively free; the cost of retrieving an old file from cloud storage is zero; the cost of missing documentation is thousands in uncovered damage.
- Relying on building management’s inspections: FISP reports cover public safety, not water intrusion risk. Superintendents inspect for immediate hazards, not moisture content at your baseboards. Your seasonal inspection file is your asset, not the building’s, and it travels with you if you sell - a documented maintenance history can increase sale value in Financial District’s disclosure-intensive market.
- Ignoring the “minor” finding: A condensate pan depth of 7/8 inch in June is not an emergency, but it’s a finding that requires follow-up. Document it, schedule the cleaning, and photograph the post-cleaning condition. The chain of documentation - finding, action, resolution - demonstrates responsible maintenance more persuasively than a single “all clear” inspection.
- Using the same contractor for inspection and restoration without disclosure: If your inspection contractor later performs restoration work, disclose this relationship to your insurer. Undisclosed dual roles create appearance-of-bias issues that complicate claims. At Back to Dry, we offer free second opinions on any competitor’s written estimate precisely to provide independent evaluation when needed - Haven Standard, no charge for the review.
When to Call a Professional
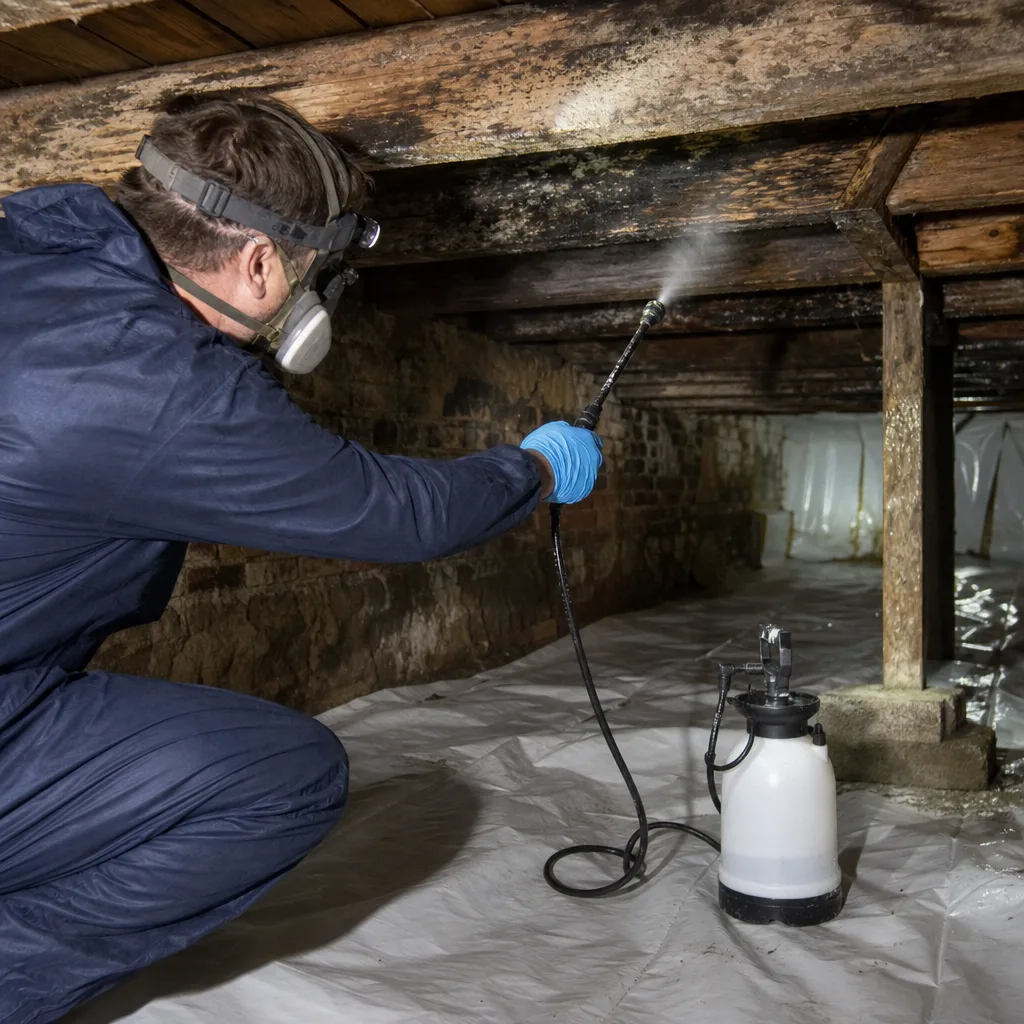
Some seasonal conditions require immediate professional intervention, not documentation. Call for emergency response when: steam or water is actively discharging and you cannot locate or operate the shutoff; you observe structural deformation (sagging ceiling, buckling floor, cracked structural member); electrical fixtures or outlets are wet or sparking; or you smell gas in proximity to any heating equipment. For these scenarios, Back to Dry Restoration Financial District home maintains live phone coverage 24 hours a day, 7 days a week with no voicemail on emergency lines - a real person answers, gathers the essential information, and dispatches a crew with documented arrival time.
For non-emergency conditions, professional assessment is warranted when: moisture readings exceed 20% at any structural material; you observe mold growth of any color on any surface; a condensate drain fails the flow rate test by more than 50%; or your seasonal inspection reveals a condition that you cannot safely access or evaluate. DryMark Restoration Financial District offers free estimates in Financial District - call (551) 212-1492. Every estimate is delivered in writing before work begins, with a photo-documented assessment, room-by-room moisture readings, and a scope that specifies equipment (Dri-Eaz, Phoenix, or equivalent dehumidification; Injectidry for cavity drying where indicated), daily drying log protocol, and the 365-Day Done Right Promise under The Haven Standard.
Frequently Asked Questions
Standard HO-3 policies cover sudden and accidental discharge but exclude damage from maintenance neglect. The coverage determination depends on documentation: if you can prove the system was inspected and appeared serviceable before the event, the damage is more likely classified as sudden. Without documentation, the insurer may classify the same event as gradual leak and deny coverage. Call (551) 212-1492 for a free estimate - we’ll review your documentation and provide a written scope before any work begins.
Back to Dry’s live dispatch operates 24 hours a day, 7 days a week with no voicemail. For active water discharge in Financial District, typical arrival is 60-90 minutes during business hours and 90-120 minutes overnight, depending on bridge and tunnel access. The crew arrives with moisture detection equipment, extraction tools, and the documentation kit to begin photo record and drying log immediately. Speed matters for mitigation; reconstruction is always scoped and scheduled, not dispatched for same-day start.
The answer depends on extent, material, and cause. Surface mold on non-porous materials (tile, metal, sealed wood) may be cleanable with appropriate containment and antimicrobial application. Mold on porous materials (drywall, carpet, ceiling tile) or mold resulting from chronic moisture typically requires removal of affected materials and source correction. We provide a written scope with air sampling results, affected square footage, and material-specific treatment - not a one-size-fits-all recommendation. The Haven Standard requires this specificity; generic “remediation” quotes without square footage and material detail violate Clause 1.
Back to Dry coordinates directly with your insurance adjuster as part of standard service. We provide the daily drying logs, photo documentation, moisture readings, and written scope in the format adjusters require - the documentation format that our founder, a former claims adjuster, designed specifically to eliminate the back-and-forth that delays payment. You remain the policyholder and decision-maker; we handle the paperwork burden. Direct adjuster coordination is standard, not an upsell.
A pinless moisture meter measures moisture content at the material surface (approximately 3/4-inch depth for most meters) and produces a quantitative reading - 12% MC, for example. A thermal camera visualizes temperature differentials, which may indicate moisture (evaporative cooling) or may indicate insulation gaps, air leakage, or thermal bridging. We use both: the thermal camera to identify anomalies, the moisture meter to confirm whether the anomaly is wet. For homeowner use, a moisture meter is the priority purchase; thermal imaging is valuable but secondary for seasonal documentation.
If any work we perform requires correction within 365 days of completion, we return and make it right at no additional charge. This is a written guarantee, not a verbal assurance, signed on every job. The promise applies to workmanship and materials we install; it does not cover new damage from unrelated causes or damage from failure to maintain corrected conditions. We’ve honored this promise 147 times since 2011 - the count is part of our operational record, not a marketing claim. The address of the guarantee matters: Haven Standard, Clause 4, with specific performance obligations on both sides.
The FISP report is a valuable component of your documentation file but not a substitute for unit-specific inspection. FISP addresses public safety at the building exterior; it does not assess interior moisture conditions, HVAC condensate function, or steam system components within your unit. Use the FISP report as corroborating evidence when facade conditions relate to interior damage, but maintain your own seasonal inspection record for systems and conditions the FISP does not cover.
The Bottom Line
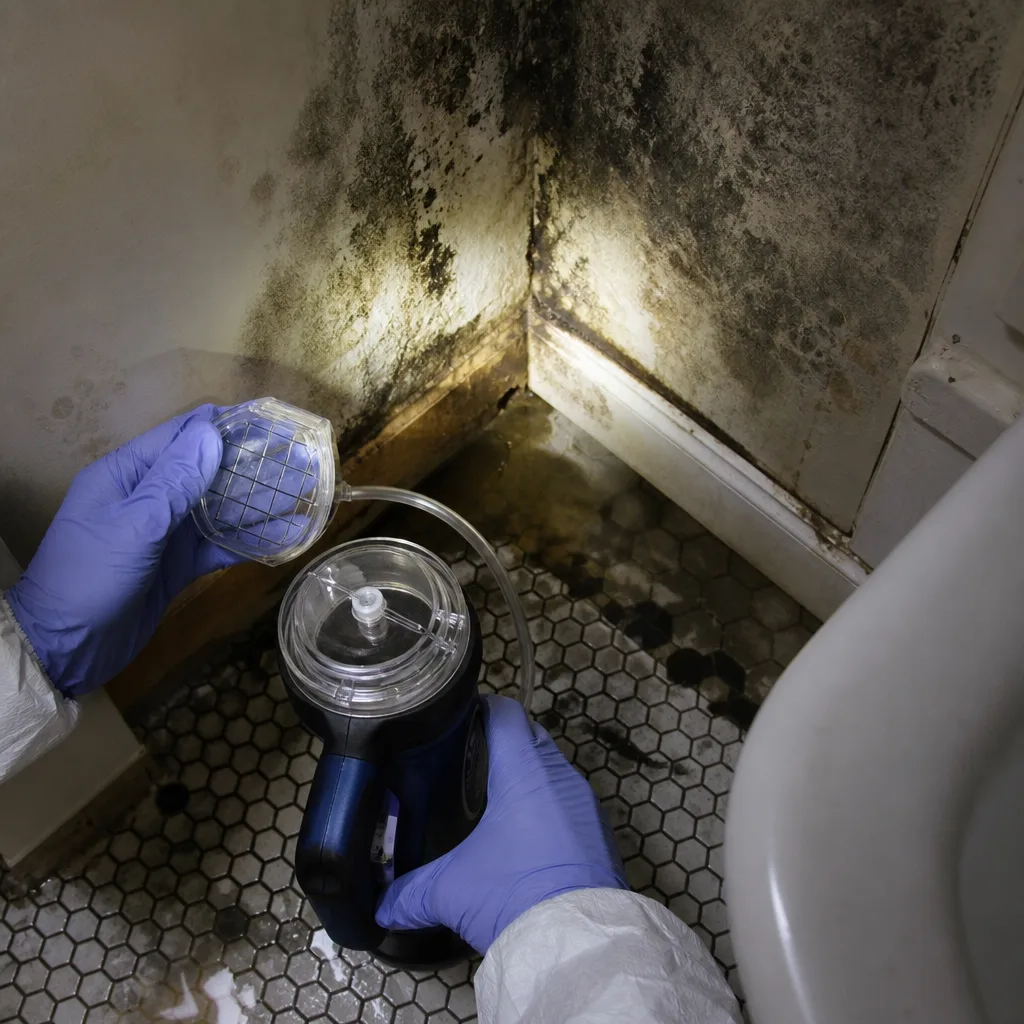
Seasonal damage in Financial District follows a predictable pattern: steam heat pressurization in fall, freeze-thaw cycling in winter, roof drainage load in spring, and HVAC condensate stress in summer. The homeowner who documents each season with dated photos, moisture readings, and written findings builds a pre-loss condition record that competitors’ clients rarely possess. This documentation does not prevent damage, but it positions you to recover fully when damage occurs - through faster claim resolution, higher settlement amounts, and the elimination of coverage disputes that arise from undocumented maintenance history. The inspection tasks are specific, the measurements are simple, and the file structure is straightforward. The only complexity is the discipline to complete the work before the season turns.
Written by Alicia Brennan, Owner at DryMark Restoration Financial District, serving Financial District since 2011.